How to DIY a notebook
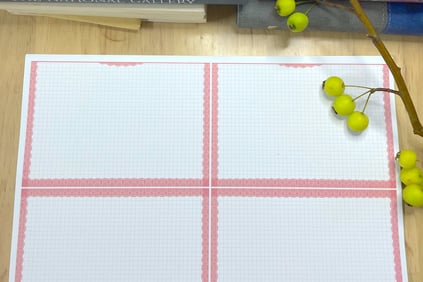
Printable Lace Grid template
DIY
Ella
7/29/20242 min read

Iet's go
Hi, welcome back, In this guide, we will walk you through the steps to make a notebook using A4 paper with our printable templates, ensuring a perfect fit and professional look.
Materials Needed
Before you start, gather the following materials:
· A4 paper (standard size: 210 x 297 mm)
· Ruler
· Pencil
· Scissors or a paper cutter
· Cutting Pad
· Clips
· Stapler or Noodle and Thread
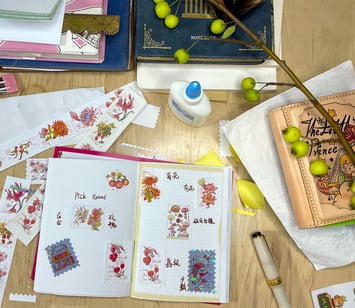
· Optional: Decorative elements such as stickers, washi tape, or stamps
Step-by-Step Guide
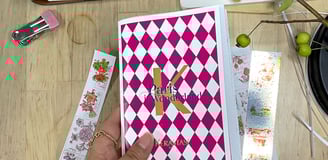
Step 1: Choose the Printable Lace Grid Template based on the Size of your notebook
We have different colors. Once purchased, you’ll receive an email with Download Link. The Link will last for 48 hours. Pls download it on time.
Step 2: Printing
In Print Settings, Select Actual Size or Scale to 100% or 99% under Page Sizing & Handling. For manual Duplex Printing, print the Odd Pages first and then flip the printed paper and put back in the paper tray before printing out the Even Pages.
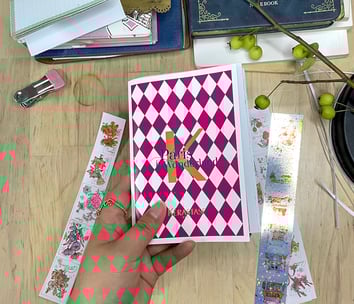
Step 3: Cut the A4 Paper
Carefully cut the paper to the desired size using scissors or a paper cutter. Be careful if the layout includes single page and fold out pages. Cut off all white edges. Then fold the fold out pages.Repeat this process until you have the desired number of inserts.
Step 4: Punch Holes (If Necessary)
If your notebook uses a ring or disc binding system, you'll need to punch holes in your inserts. Align the inserts with the existing pages in your notebook to mark where the holes should be. Use clips to make papers aline well. Use a hole punch to create the holes, ensuring they are evenly spaced and aligned correctly.
Conclusion
DIy your notebook from A4 paper is a straightforward and rewarding project. Not only does it allow you to tailor your notebook to your specific needs, but it also offers a creative outlet. You could find more templates in our website. Happy crafting!